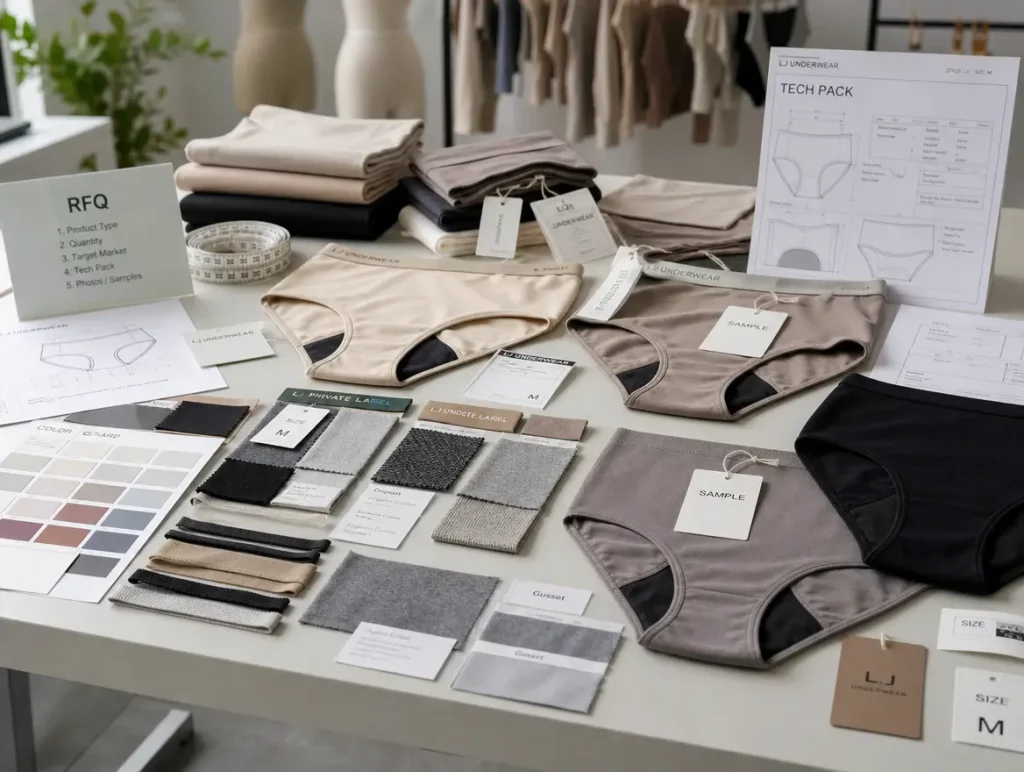
Body, bra, and sample measurements
How to Measure for Custom Intimate Apparel
Use one agreed measurement language from the buyer's body chart through sample review. Underbust, overbust, waist, hip, rise, inseam, and product-specific points of measure help turn a size direction into a controlled production specification.

Core body measurements
Keep the Tape Level and the Method Repeatable
Measure over light clothing or underwear, stand naturally, and keep the tape flat and snug without compressing the body. Record every result in the unit used by the development chart.
Underbust
Measure directly beneath the bust with the tape level around the back. Record the relaxed body circumference.
Full bust / overbust
Measure around the fullest bust point without flattening the tissue. Keep the tape parallel to the floor.
Cup difference
Subtract underbust from overbust, then interpret the result using the named EU, US, or UK cup system.
Natural waist
Measure around the natural waistline with the abdomen relaxed and the tape level.
Fullest hip
Measure around the fullest part of the hip and seat; check that the tape does not slope at the back.
Full rise
Measure from center-front waist through the crotch to center-back waist without pulling the tape.
Inseam reference
Measure from the crotch point toward the intended hem or leg-opening position for the product.
Height where relevant
For sleepwear and full-body styles, record standing height and any vertical coverage points required by the tech pack.


Sample and tech-pack method
Lay the Garment Flat and Follow the Approved Points of Measure
Smooth wrinkles without pulling. Measure relaxed unless the tech pack explicitly requests a stretched measurement, and use the same starting and ending points for every sample round.


| Point of measure | Method | Approval check |
|---|---|---|
| Waistband / underband | Measure half-width edge to edge in the stated relaxed or stretched state. | Width, elastic tension, seam bulk, and tolerance. |
| Hip width | Measure at the defined distance below the waist or approved landmark. | Use the same landmark in every sample round. |
| Front and back rise | Measure from waist edge to the crotch seam along the agreed line. | Coverage, balance, and wearer comfort. |
| Leg opening / armhole | Measure along or across the opening according to the tech pack. | Edge tension, security, and mobility. |
| Gusset, liner, or support panel | Record length, width, and distance from fixed construction points. | Functional placement and symmetry. |
| Cup, wing, bridge, neckline | Follow the approved bra POM diagram and note wire or soft-cup route. | Coverage, support, strap position, and component fit. |
| Side seam / body length | Measure between the stated seam intersections without stretching. | Proportion across base and extended sizes. |
| Stretch and recovery | Use the named test method, load, direction, duration, and wash condition. | Compare extension and recovery with the project specification. |
Sample rule: never compare a full body circumference with a half-width garment measurement. Label the measurement state and tolerance for each critical POM.
Common errors
Small Method Changes Create Large Fit Disputes
- Measuring over bulky clothing or with a twisted tape
- Letting the tape slope around the hip, underbust, or overbust
- Flattening tissue or pulling the body tape too tightly
- Stretching elastic while taking a relaxed garment measurement
- Comparing circumference with half-width measurements
- Changing POM landmarks, units, or cup systems between rounds
- Approving visual appearance without recording tolerances
Stretch and recovery
Record the Test Method, Not Only the Result
Two garments with the same relaxed dimensions can fit differently because of stretch direction, extension, recovery, lining, elastic, seams, bonding, and wash behavior. The project specification should name the method and acceptance range.
Example values in a brief are not universal pass standards. Lock the accepted material route and tolerance in the PP sample before bulk.
Prepare the fit review
Request a Measurement Sheet Matched to the Product Brief
Send the product category, target market, intended size range, unit, cup system where relevant, reference garment, and available tech pack. Prepared briefs may qualify for a 72-hour feasibility review on selected routes; the quote confirms the sampling plan and timing.
Frequently asked questions
How to Measure FAQ
Which measurements matter most for custom intimate apparel?
They depend on the product. Briefs usually begin with waist, hip, rise, and leg opening; bras require underbust, overbust, cup system, band, and support points. The approved tech pack defines the final POM list.
Should a garment be measured stretched or relaxed?
Measure it relaxed unless the approved specification requests a stretched measurement. Record the state, direction, method, load, and tolerance so later samples are comparable.
How do we avoid EU and US bra conversion errors?
Name the cup system on the body chart, tech pack, label artwork, and PP approval. EU and US/UK systems diverge above D, so a cup letter without its system is incomplete.
Can LJUNDERWEAR work from an existing measurement sheet?
Yes. Send the existing chart or tech pack with the product category, target market, reference sample, material direction, and intended range. The feasibility review identifies missing points or conflicting methods.
Get Your Free Quote & Technical Review
How To Submit Your RFQ
1.Send product type, quantity, and target market.
2.Attach tech packs, photos, or samples.
3.Get sample, MOQ, cost, and timeline guidance.